Step-by-Step Instructions and Slideshow – Collapse View
Overview
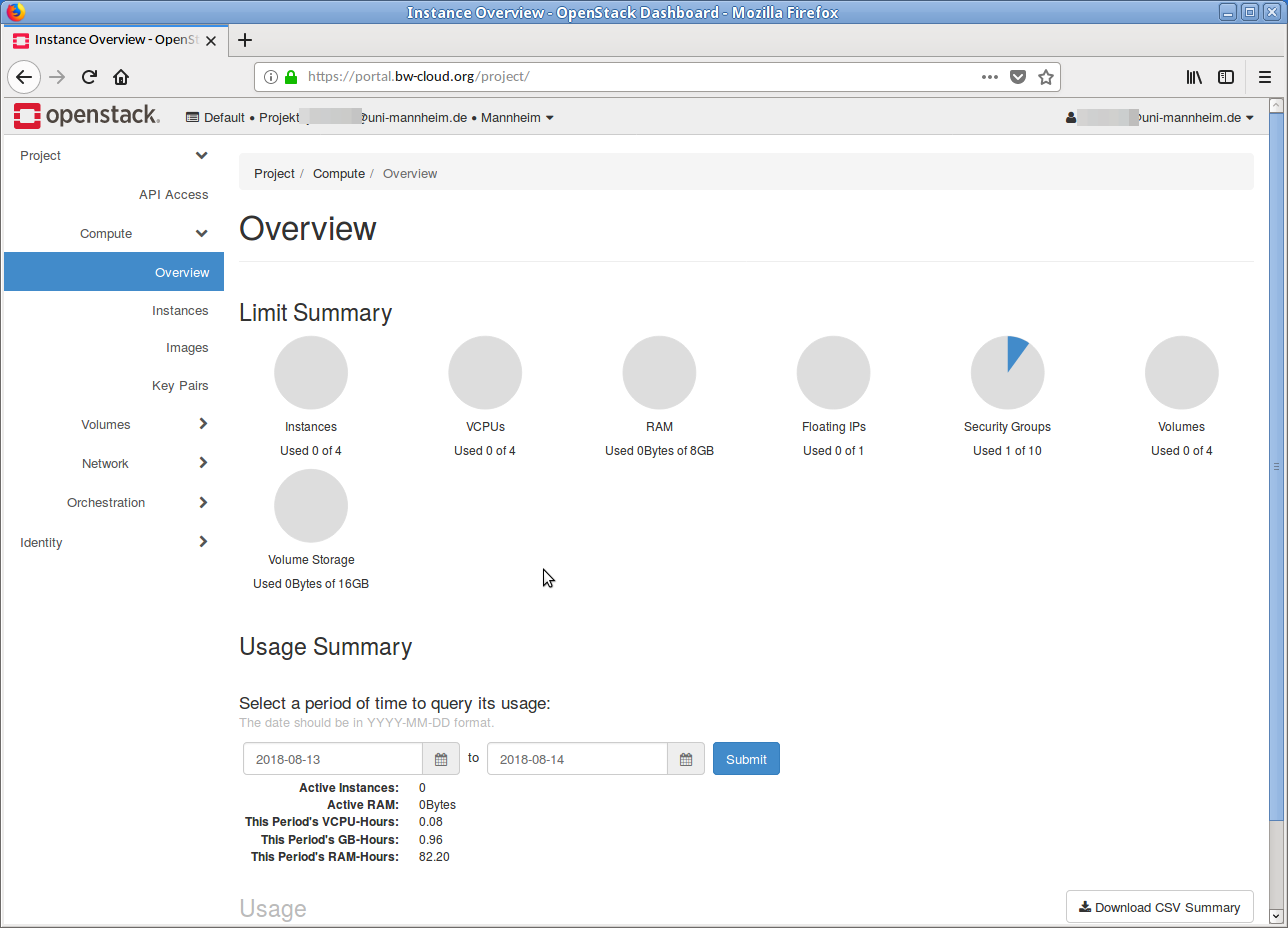
After logging in, you will see an overview of the available quota.
Menu
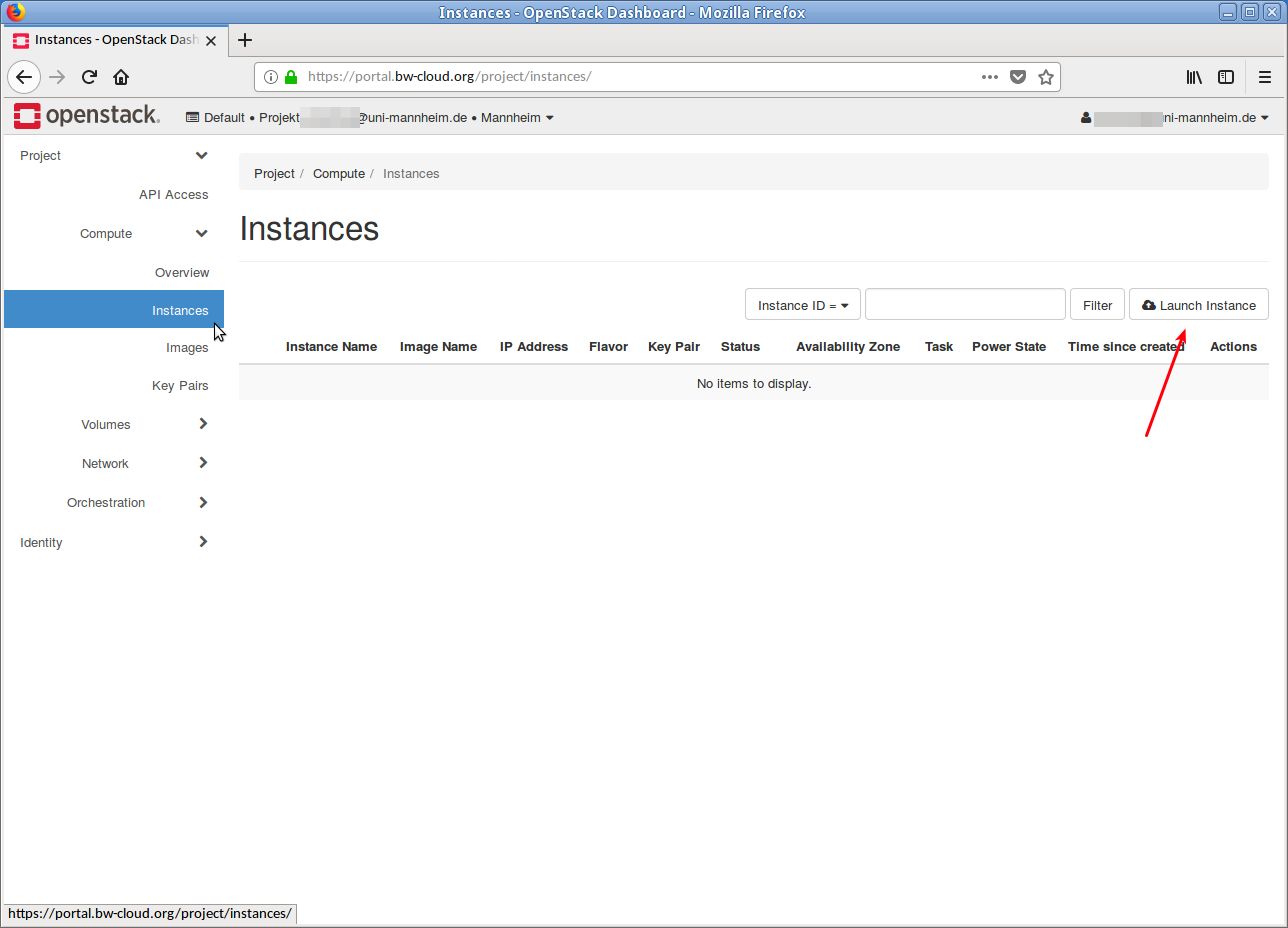
Click on Instances in the left menu and then on the Launch Instance button on the new page.
Details
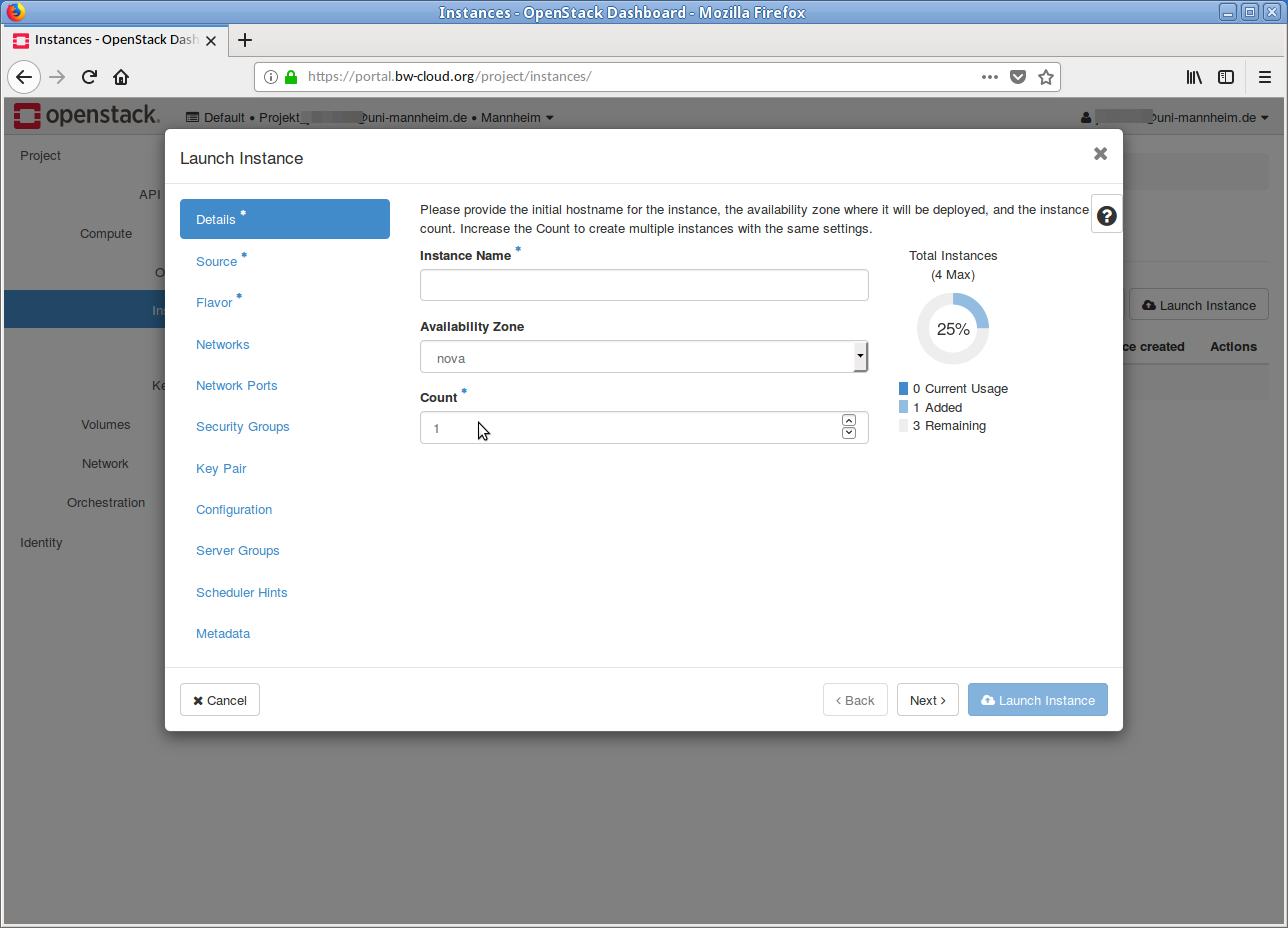
A dialog will open that guides you step-by-step through the process.
Execution
[Translate to English:]
First, give the instance a meaningful name and enter it in the appropriate field. Then click the Next button at the bottom or select Source* in the left menu.

Template
Now select a template on which your instance should be based.
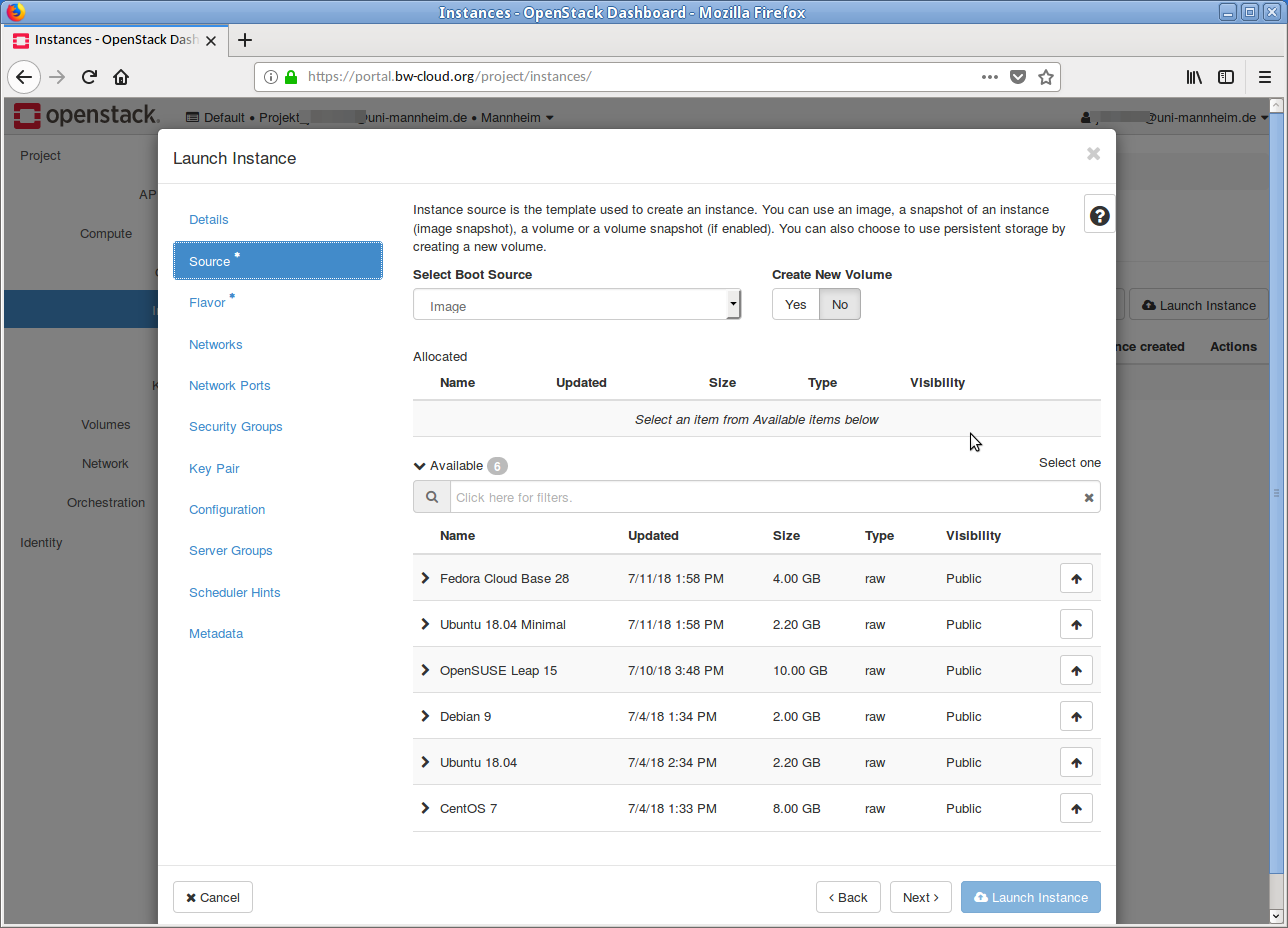
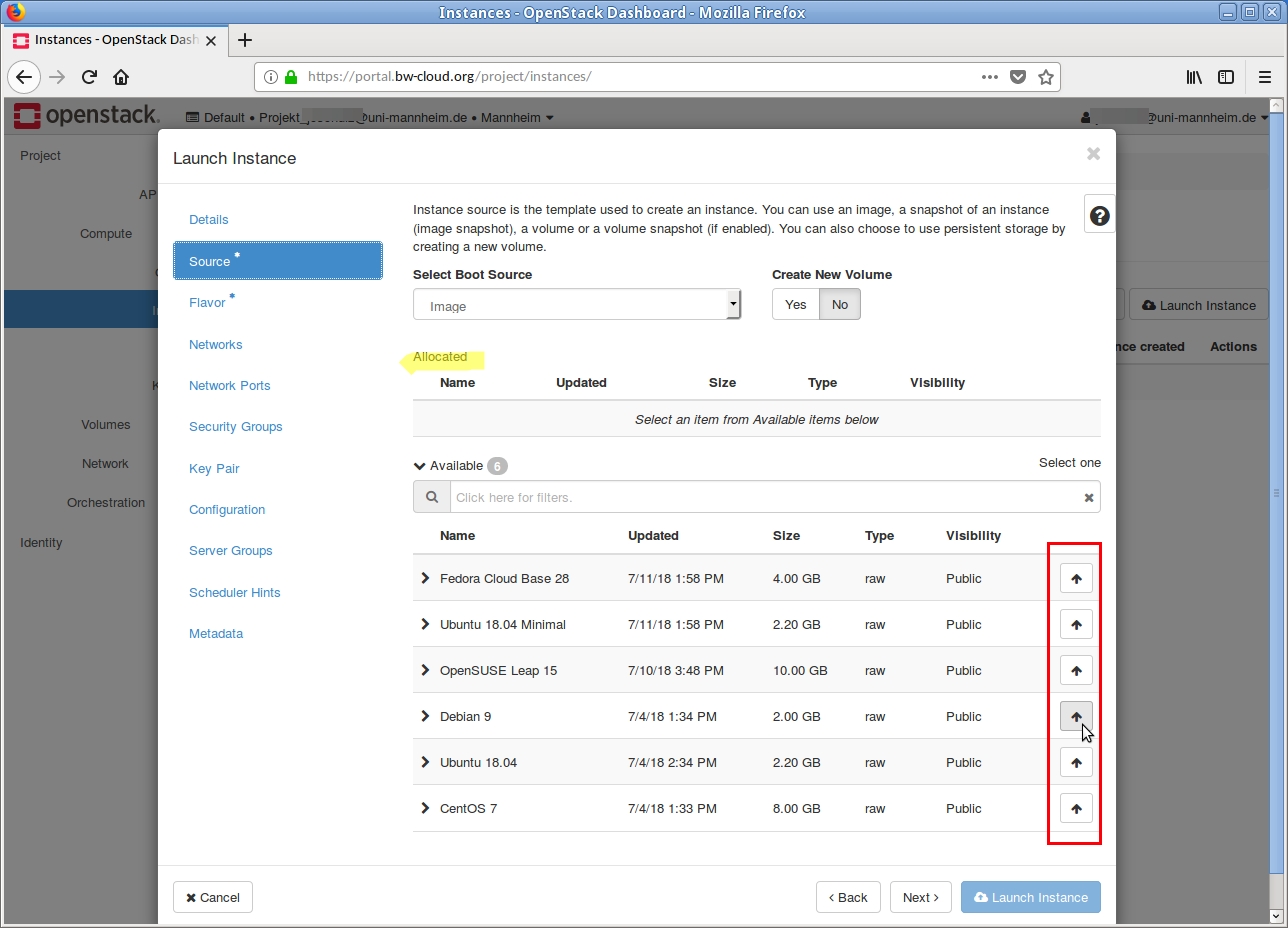
Priority
The selected image will be displayed in the Allocated area. Currently, no image is selected, so this area is empty. To select an image, click the up arrow in the corresponding row (highlighted in red). In our example, we select the image "Debian 9."
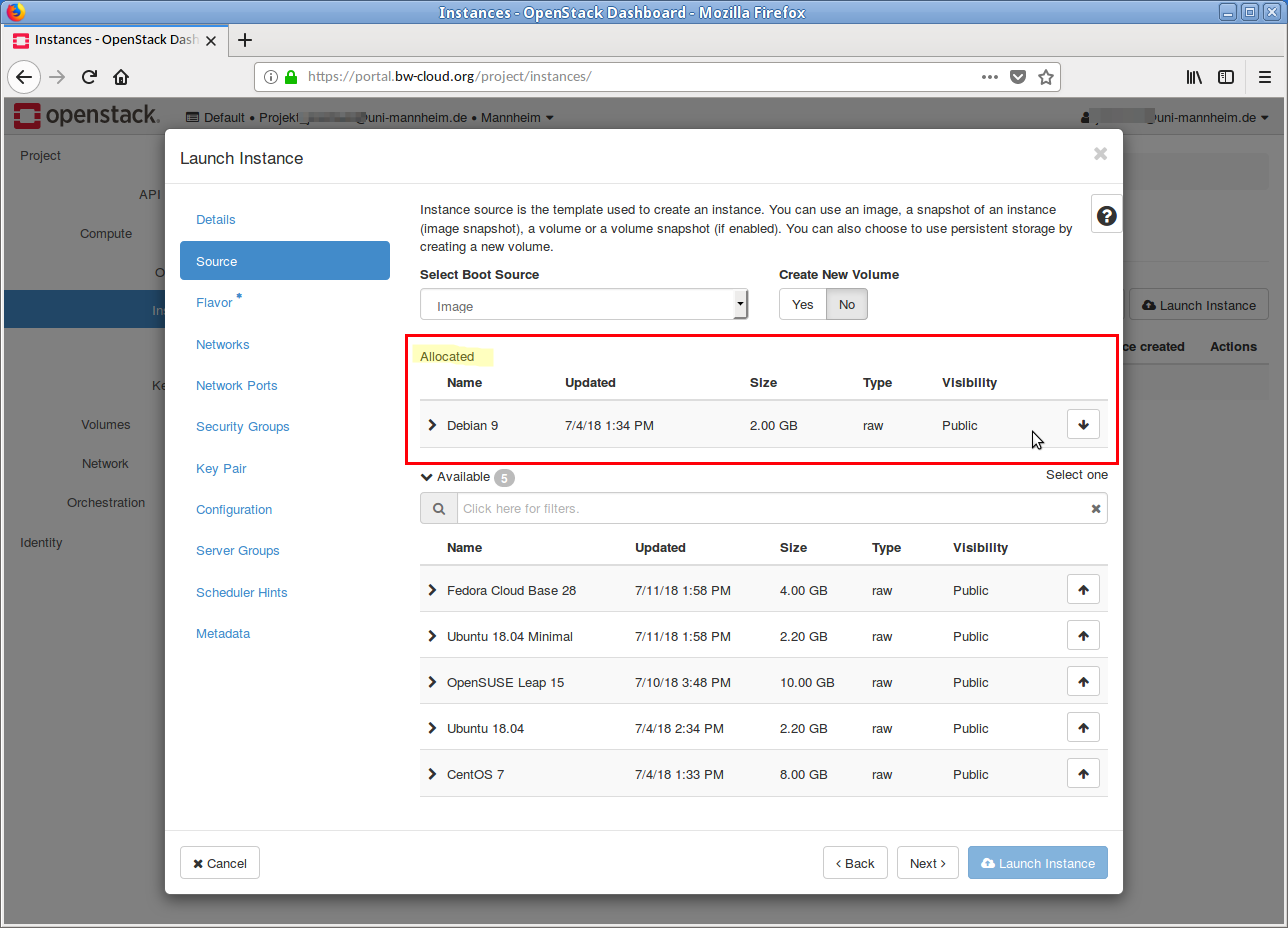
Selection
In the Allocated area, you can now see the selected image — the one named "Debian 9." If you want to discard this selection, click the down arrow in the corresponding row.
Aktuelle Quota
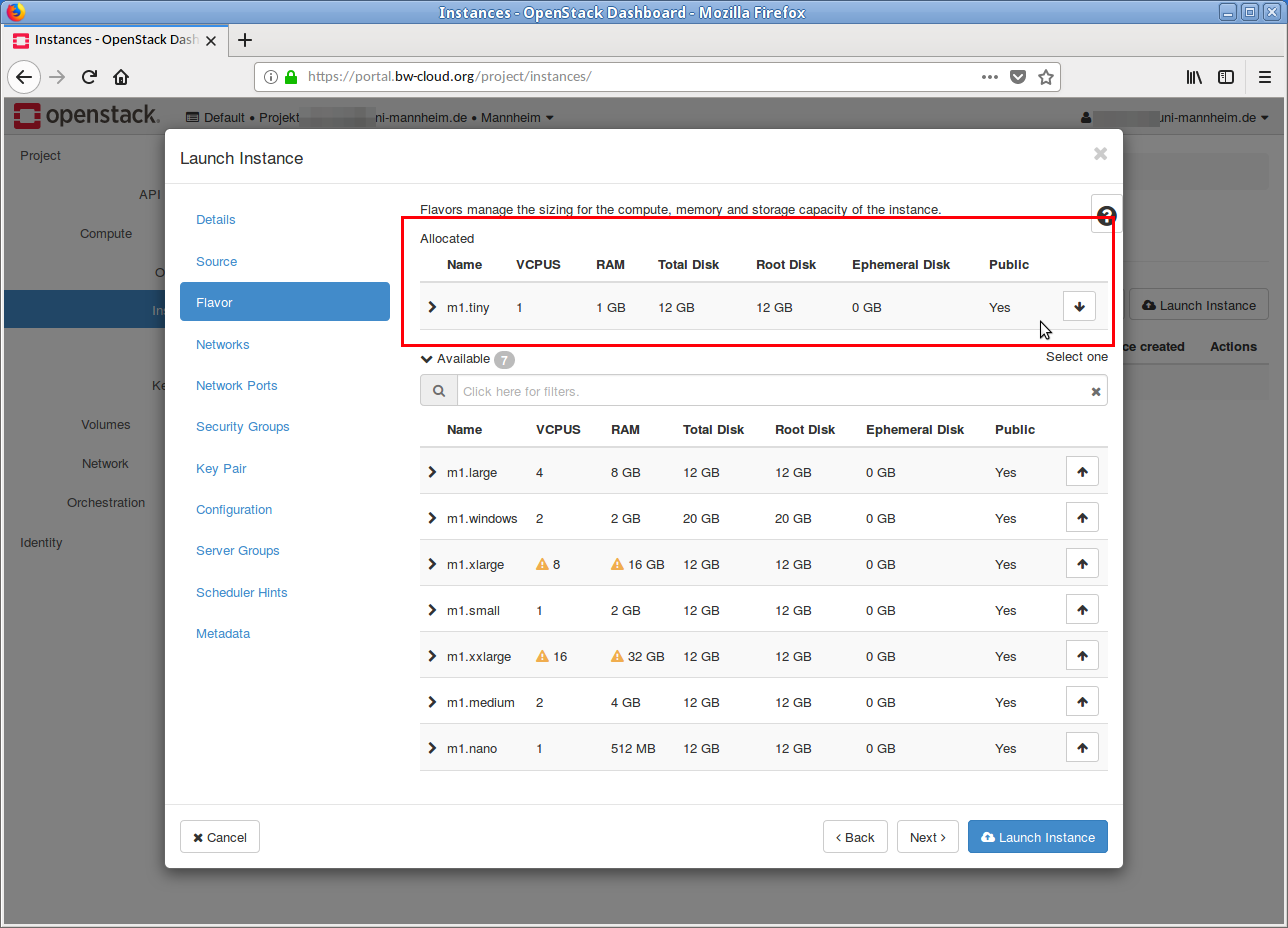
In the next step, the flavor must be selected.
This is done again by clicking on the up arrow (highlighted in red).
If your current quota is too low for a flavor, this will be indicated by a yellow warning symbol.
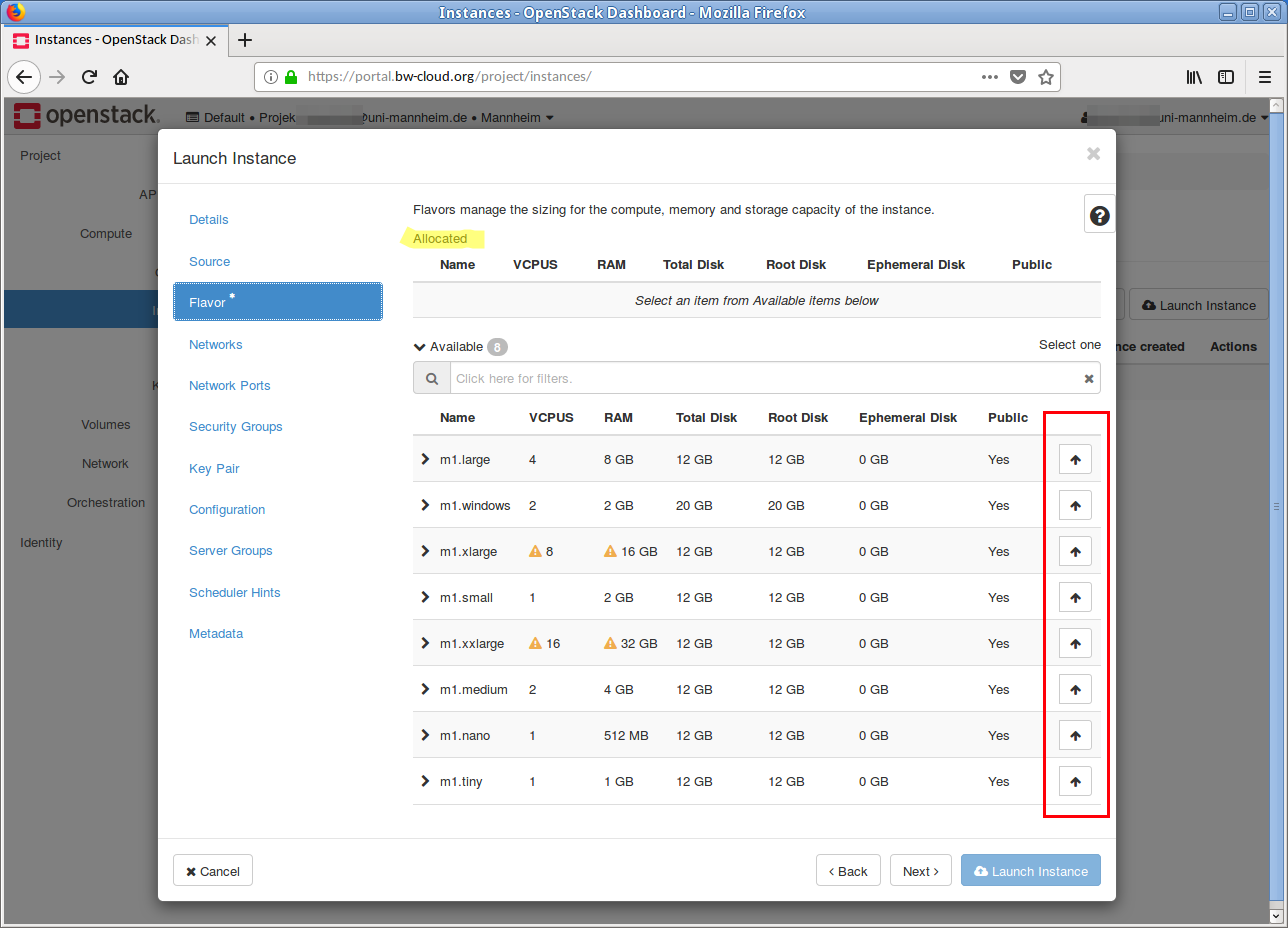
Example
In our example, we have selected the flavor "m1.tiny".
Network
Next, select the network. In most cases, you don't need to change anything here, as the default setting usually fits.

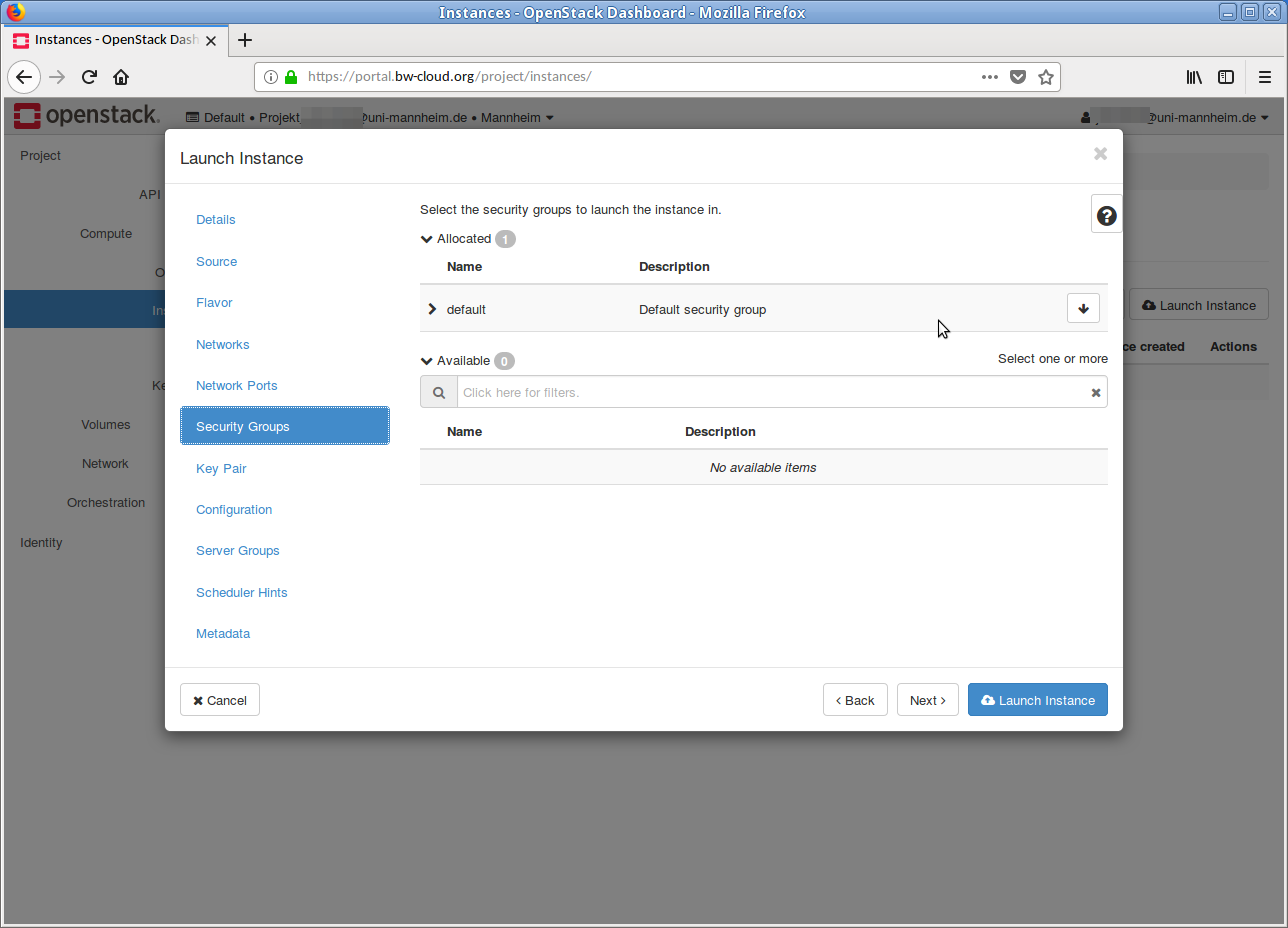
Security Group
As for the security group, you usually don't need to change anything here either.
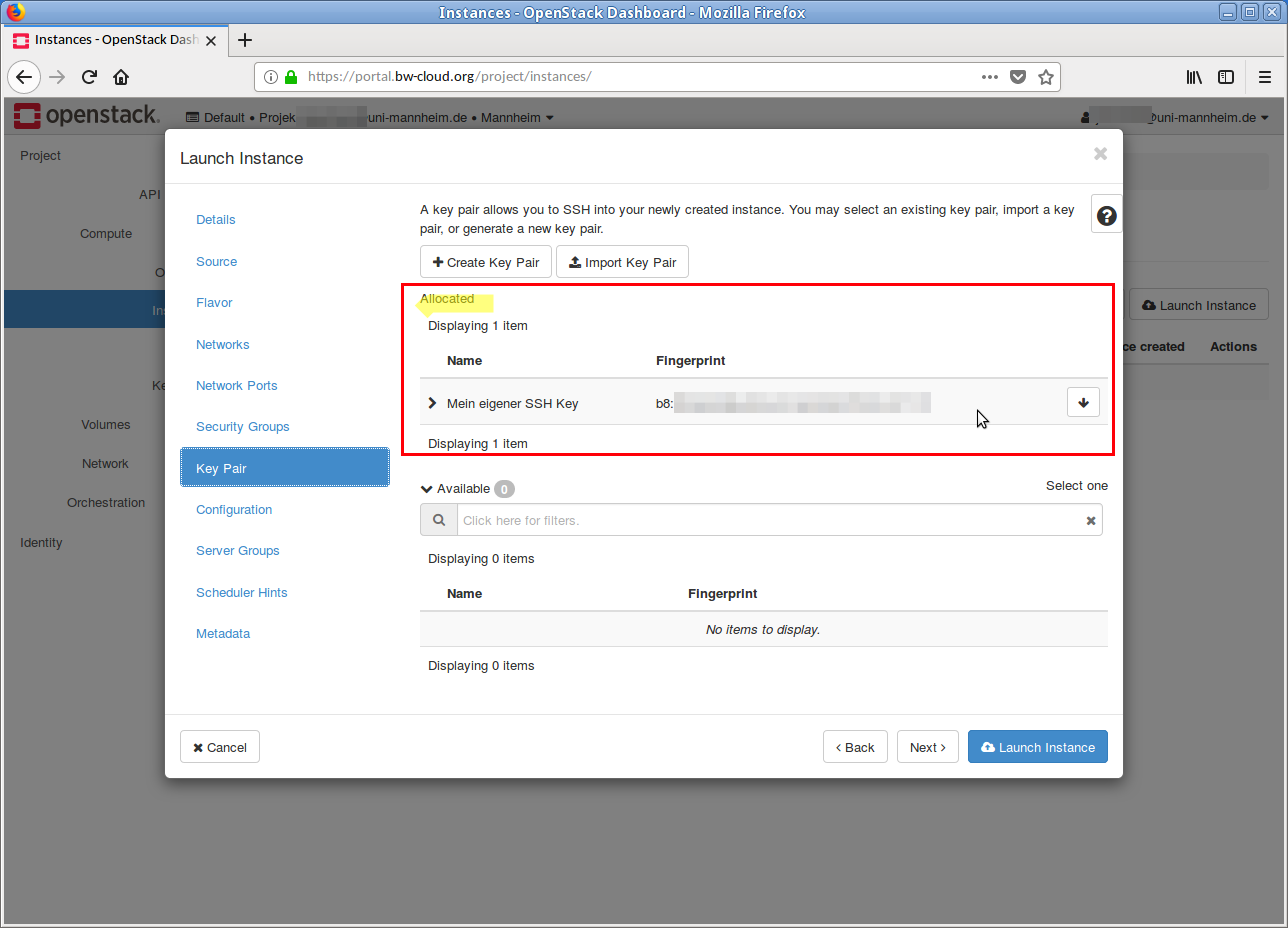
Key Pair
In the next step, select the public SSH key that should be integrated into the instance. This step is very important, because without a public SSH key, it is not possible to access the running instance.
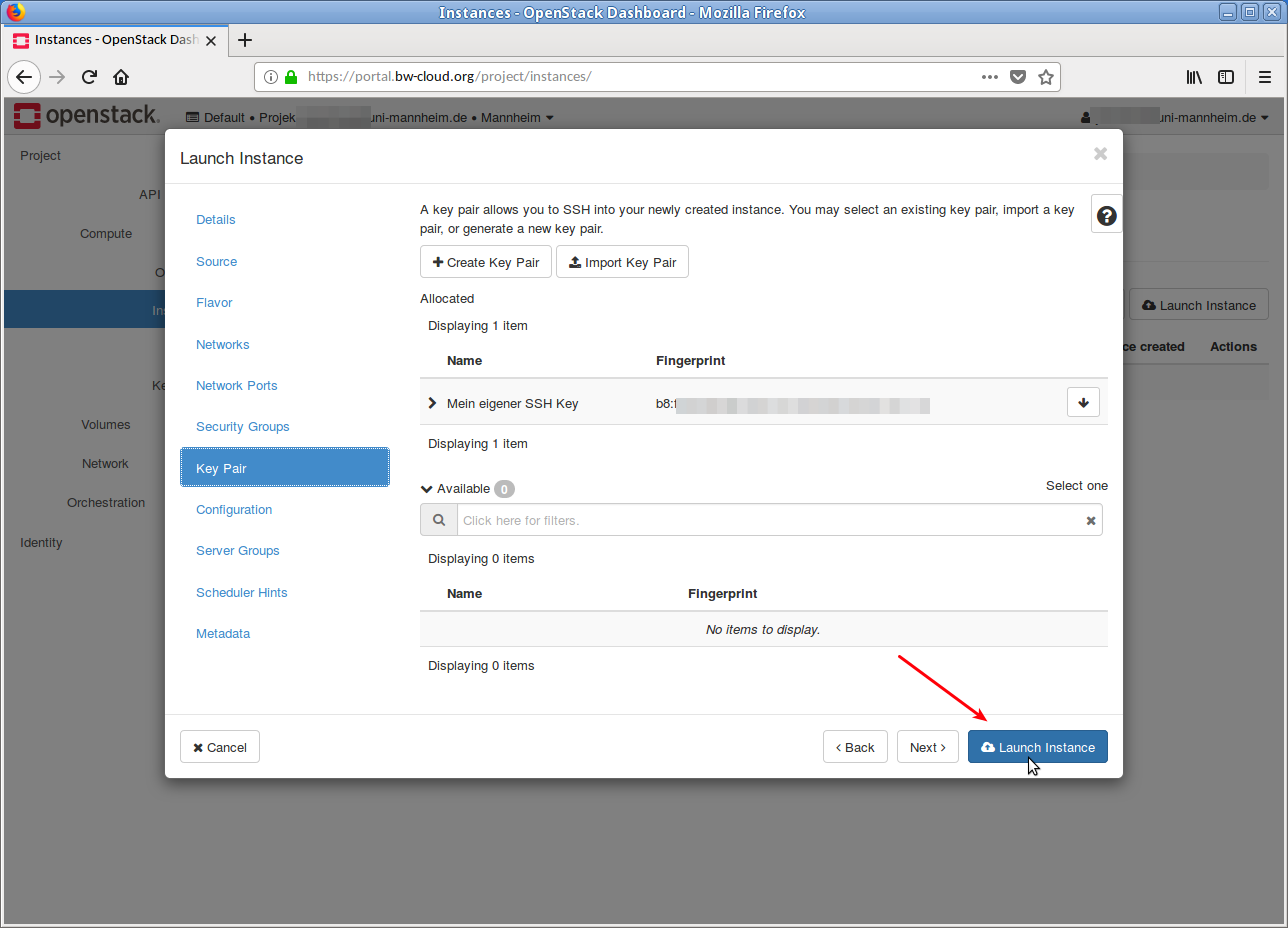
Launch
Now click on the Launch Instance button – and the instance will be started.
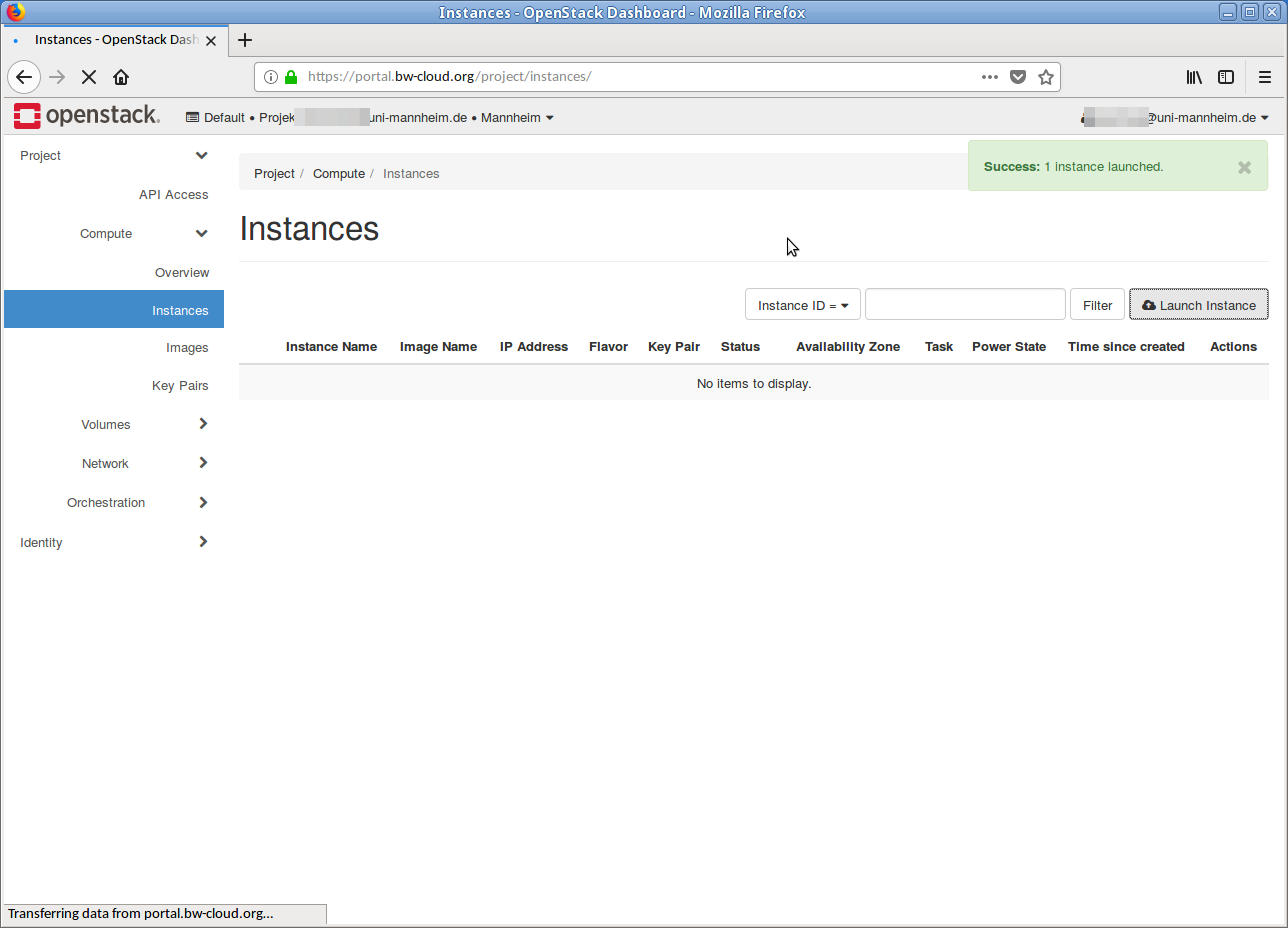
Almost done
The instance is being created...
Just a little more...
The instance is being set up...
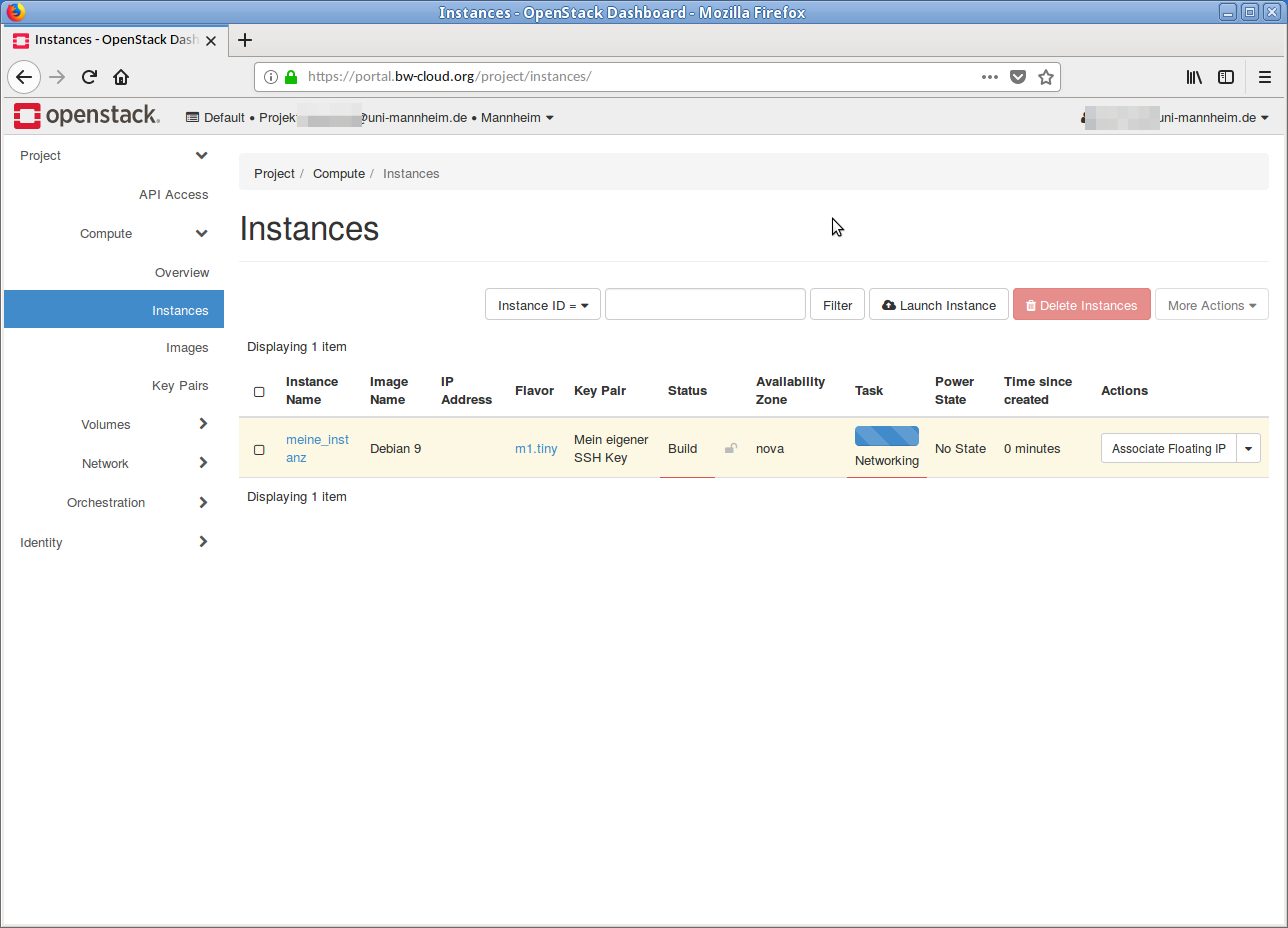
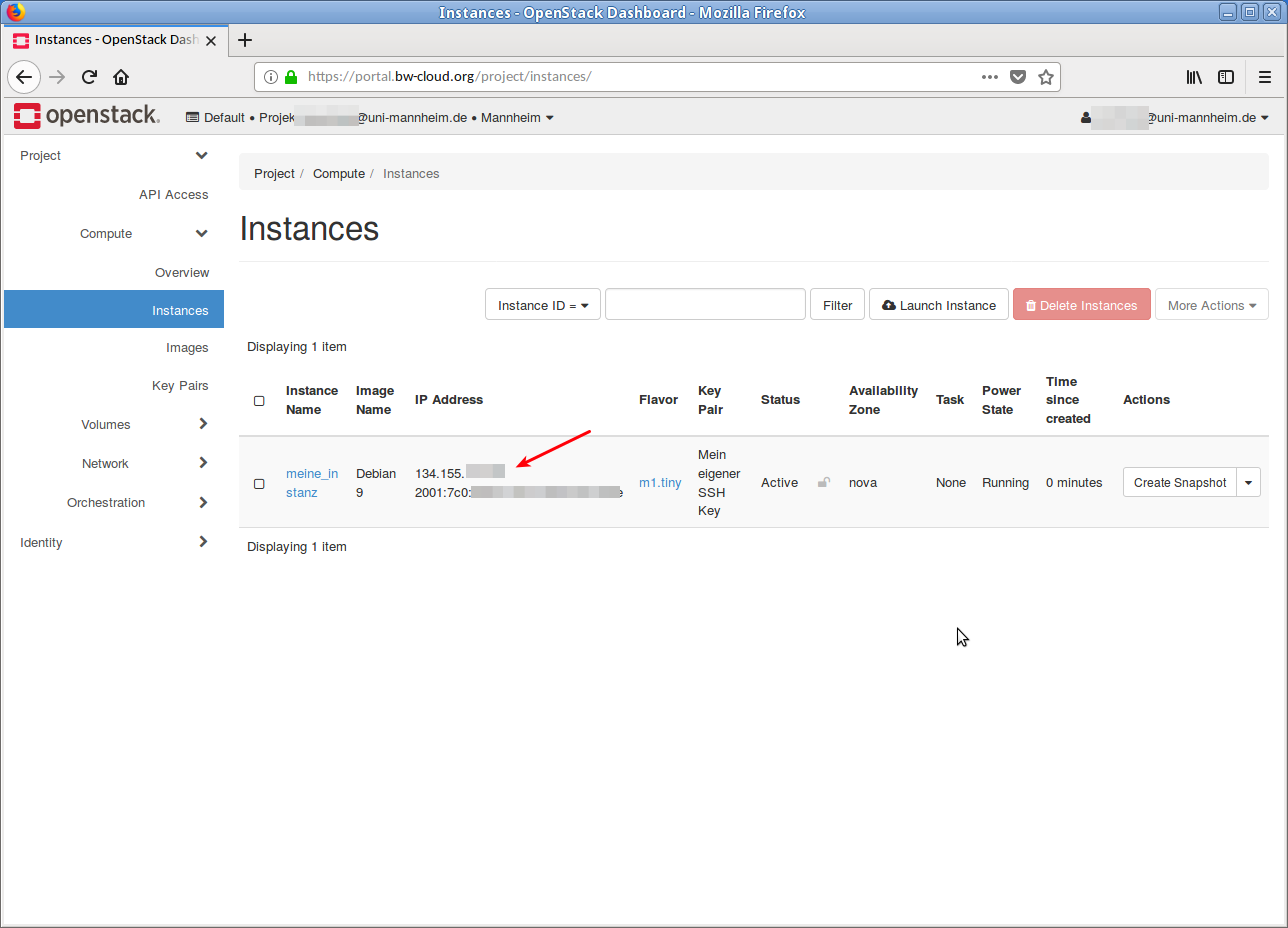
Done
The instance has finished starting up and is set up. The IP addresses where it can be reached are shown in the overview (red arrow). You can now connect to the instance via SSH.