Step 6: Setting up the SSH Client
This guide describes how to prepare to access the virtual machines using the previously generated public and private SSH keys.
For Windows users with PuTTY.
For Linux and Mac users.
- Windows Users with PuTTY
The SSH client PuTTY is a simple and free program to access the started instances via SSH on Windows.
PuTTY Installation
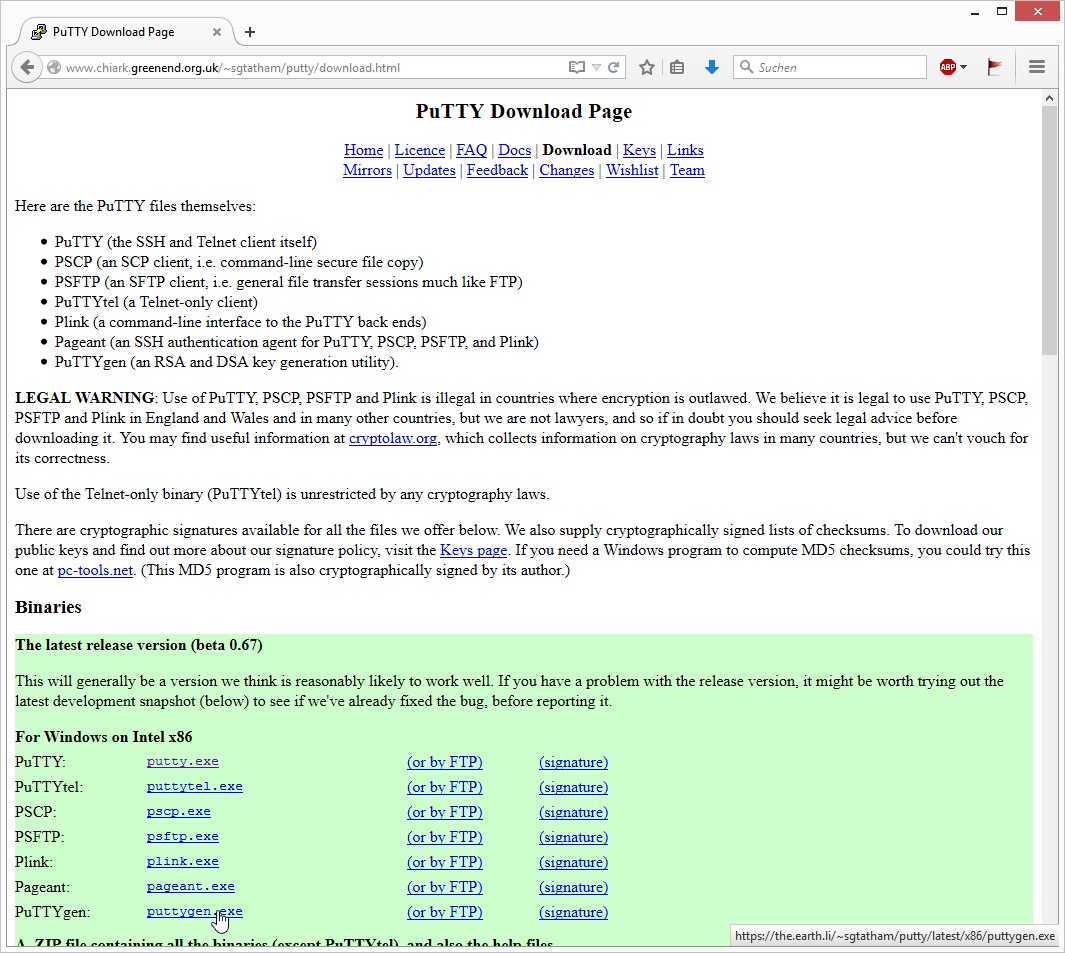
Download the PuTTY program. There are two ways to do this:
Go, for example, to the main site putty.org and click on the link Download PuTTY.
The page that opens will point you to the sources.
Option 1: Source 'MSI (Windows Installer)':
Save the appropriate installer for your system (usually 64-bit x86).
Start the installation process.
Launch the PuTTY program.
Option 2: Source 'putty.exe (the SSH and Telnet client itself)':
Save the corresponding installer for your system (64-bit x86).
Start the program/file putty.exe directly.
PuTTY Setup
Start PuTTY.
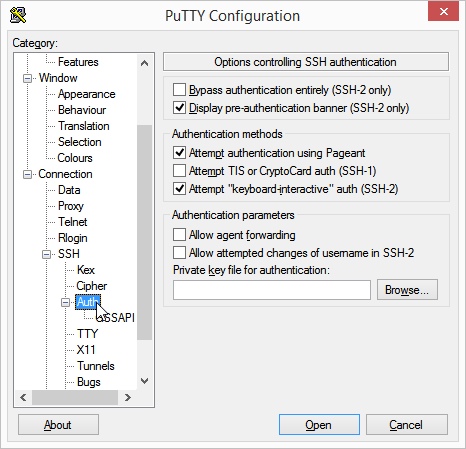
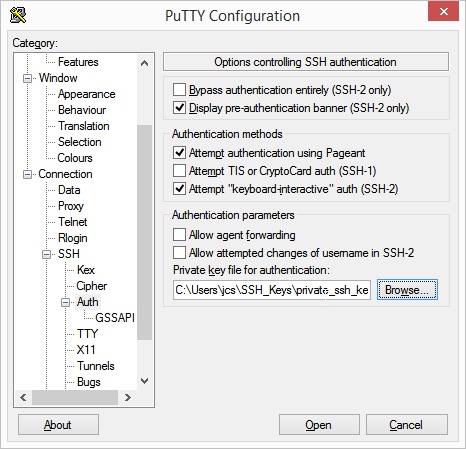
In the left menu tree, click on Connection → SSH → Auth.
Click the Browse button under the text "Private key file for authentication." Select the file with your private SSH key.
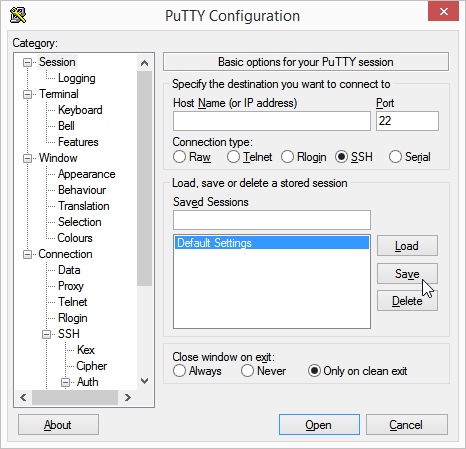
If you don’t want to repeat this process every time, we recommend saving your current PuTTY settings as a profile. To do this, click the top item Session in the left menu tree.
Name your current settings (and session) with your own name and/or click the Save button.
Now restart PuTTY. The previously selected private SSH key will be pre-selected again.
Step-by-step guide and collapse slideshow
Download
Download the program putty.exe. To do this, go for example to the PuTTY Download Page.
Auth
[Translate to English:]
In the left menu tree, click on Connection → SSH → Auth to select the private SSH key.
Browse
Click the Browse button and select the previously saved private SSH key.
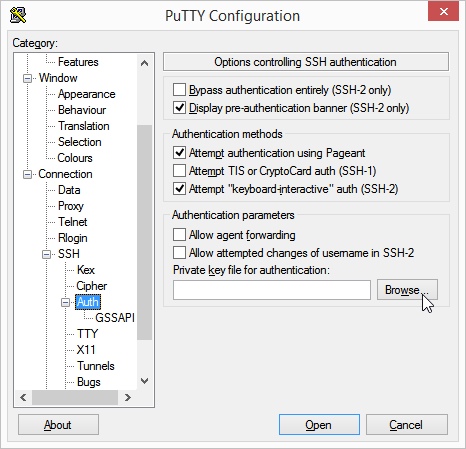
Private SSH-Key
The text field next to the Browse button should now contain the full path to the file with the private SSH key.
Save
If you want to use and save these settings permanently, click on the top item Session in the left menu tree. If you want to give the session a custom name, enter it in the text field below the label Saved Sessions. Then click the Save button to save the settings.